Painting animals is a rewarding skill that opens doors to creativity and self-expression. Nearly 80 percent of beginner artists say using the right materials made their first animal painting much easier and more enjoyable. But most new painters think the actual brush work is the toughest part. The real trick often comes before any paint even hits the canvas when choosing and organising your supplies sets the tone for the whole project.
Table of Contents
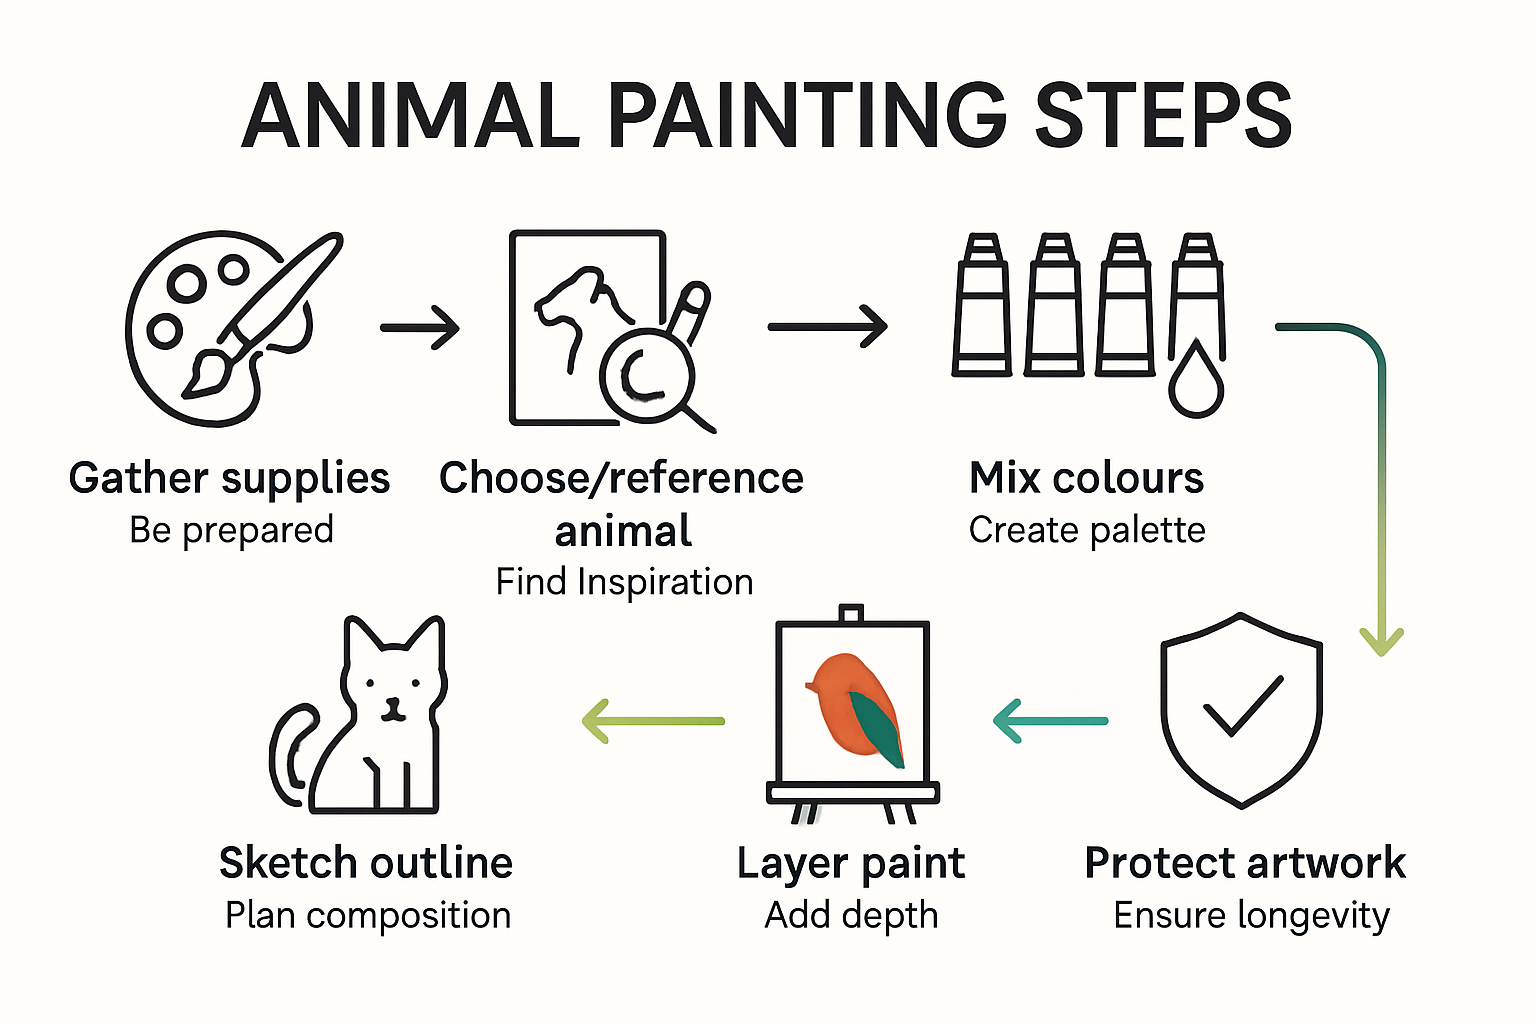
- Step 1: Gather Your Painting Supplies And Materials
- Step 2: Choose An Animal Subject And Reference Image
- Step 3: Sketch Your Animal Design On Canvas
- Step 4: Select Colors And Mix Your Paints
- Step 5: Paint Your Animal With Layering Techniques
- Step 6: Finalize And Protect Your Artwork
Quick Summary
| Key Point | Explanation |
|---|---|
| 1. Use quality supplies for painting | Invest in high-standard paints and tools to enhance the final artwork quality and overall painting experience. |
| 2. Select clear reference images | Choose high-resolution photos showcasing your animal to accurately capture detail and color nuances in your painting. |
| 3. Begin with a basic sketch | Start by outlining the animal’s shape with light strokes, focusing on proportions to guide your painting process effectively. |
| 4. Mix colors for depth and realism | Avoid using straight-from-the-tube colors; instead, mix paints to achieve natural gradients and richer textures. |
| 5. Protect your artwork after completion | Allow your painting to dry fully, then apply varnish for preservation, enhancing the colors and safeguarding the work from damage. |
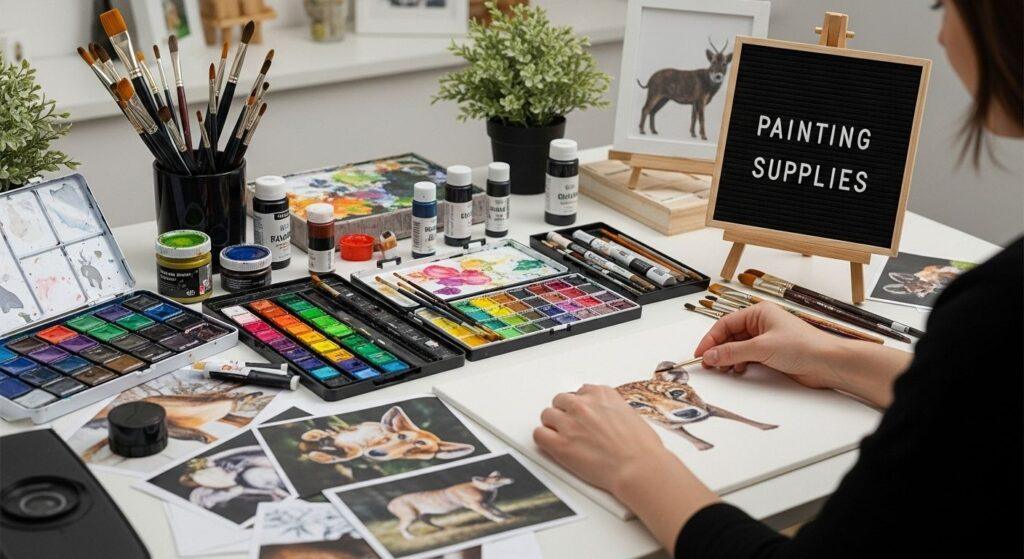
Step 1: Gather Your Painting Supplies and Materials
Launching into animal painting requires carefully selecting the right materials to transform your artistic vision into reality. Before you begin your creative journey, understanding the essential supplies will set the foundation for a successful painting experience. Quality materials make a significant difference in your final artwork, so invest time in choosing your tools wisely.
Start by selecting the appropriate painting medium. Watercolors, acrylics, and oils each offer unique characteristics for rendering animal subjects. Watercolors provide delicate, translucent effects perfect for soft fur textures, while acrylics offer vibrant colors and quick drying times ideal for detailed animal portraits. Oil paints deliver rich, deep colors with remarkable blending capabilities. Your choice depends on your skill level and the specific animal you plan to paint.
Here is a guide comparing the most common paint types for animal painting, helping you choose the best fit for your project:
| Paint Type | Key Qualities | Best For | Drying Time |
|---|---|---|---|
| Watercolour | Translucent, delicate, easy to clean | Soft fur, gentle effects | Fast |
| Acrylic | Vibrant, quick-drying, versatile | Detailed, bold animal art | Very fast |
| Oil | Rich colour, slow blending, deep tones | Layered, textured animal work | Slow |
Your core painting toolkit should include:
- High-quality paintbrushes in various sizes (round and flat)
- Canvas or heavyweight painting paper
- Palette for mixing colors
- Paint colors matching your animal subject
- Pencil for initial sketching
- Erasers
- Water container
- Paper towels or clean rags
Reference images play a crucial role in capturing animal details. Find clear, high-resolution photographs that showcase your chosen animal from multiple angles. Explore our beginner painting techniques to understand how to effectively translate these references onto your canvas. Proper lighting and a comfortable workspace will also enhance your painting experience, allowing you to focus on capturing the animal’s essence and intricate details.
To make your animal painting process smoother, here is a quick overview of the key supplies, their recommended options, and their purpose in the process:
| Supply | Recommended Options | Purpose |
|---|---|---|
| Paintbrushes | Round and flat, various sizes | For applying broad or detailed paint strokes |
| Surface | Canvas or heavyweight paper | To paint on (base for your artwork) |
| Palette | Any non-porous, flat surface | For mixing paint colours |
| Paints | Watercolour, acrylic, or oil | Creates the colour layer of your animal painting |
| Pencil & Eraser | Soft graphite pencil, clean eraser | For sketching and corrections |
| Water/Rag | Clean water container, rags | Cleaning brushes and thinning paint |
| Paper Towels/Rags | Lint-free preferred | For cleaning up spills and controlling moisture |
| Reference Images | High-resolution printed or digital | To guide details and accuracy of your animal |
Prepare your workspace by covering surfaces with protective materials and arranging your supplies within easy reach. This organized approach minimizes disruptions and helps maintain a smooth, enjoyable painting process. Remember, gathering the right materials is more than a preparatory step it is the foundation of your artistic expression.
Step 2: Choose an Animal Subject and Reference Image
Selecting the right animal subject is a critical step in your painting journey that will determine the entire character and challenge of your artwork. Your choice should balance personal interest with artistic feasibility, considering both your skill level and the complexity of the animal you wish to portray. Whether you are drawn to the majestic lines of a lion, the delicate features of a butterfly, or the playful pose of a domestic cat, your subject should inspire and motivate you throughout the painting process.
When hunting for the perfect reference image, prioritize clarity and detail. High-resolution photographs that showcase multiple angles of your chosen animal are invaluable. Seek images with clear lighting that reveals texture, muscle definition, and subtle color variations. Wildlife magazines, professional nature photography websites, and your personal photographs can be excellent sources. Avoid heavily filtered or overly edited images that might obscure natural animal characteristics.
Key considerations for selecting your reference image include:
- Sharp, clear focus on the animal
- Natural lighting that reveals texture and form
- Interesting pose or composition
- Sufficient detail to understand anatomical structure
- Emotional or compelling representation of the animal
Explore drawing and painting techniques that can help you translate your reference image more effectively. Beginners might start with simpler subjects like domestic animals or creatures with straightforward shapes, while more experienced artists can challenge themselves with complex wildlife or intricate animal portraits. Remember that your first few attempts are about learning and enjoying the process, not creating a perfect masterpiece.
Consider printing your reference image or displaying it digitally near your workspace for constant consultation. Studying the image thoroughly before beginning will help you understand the animal’s unique characteristics, from fur direction and muscle structure to subtle color transitions. This preparatory observation is crucial in creating a painting that captures not just the animal’s physical appearance, but its essence and spirit.
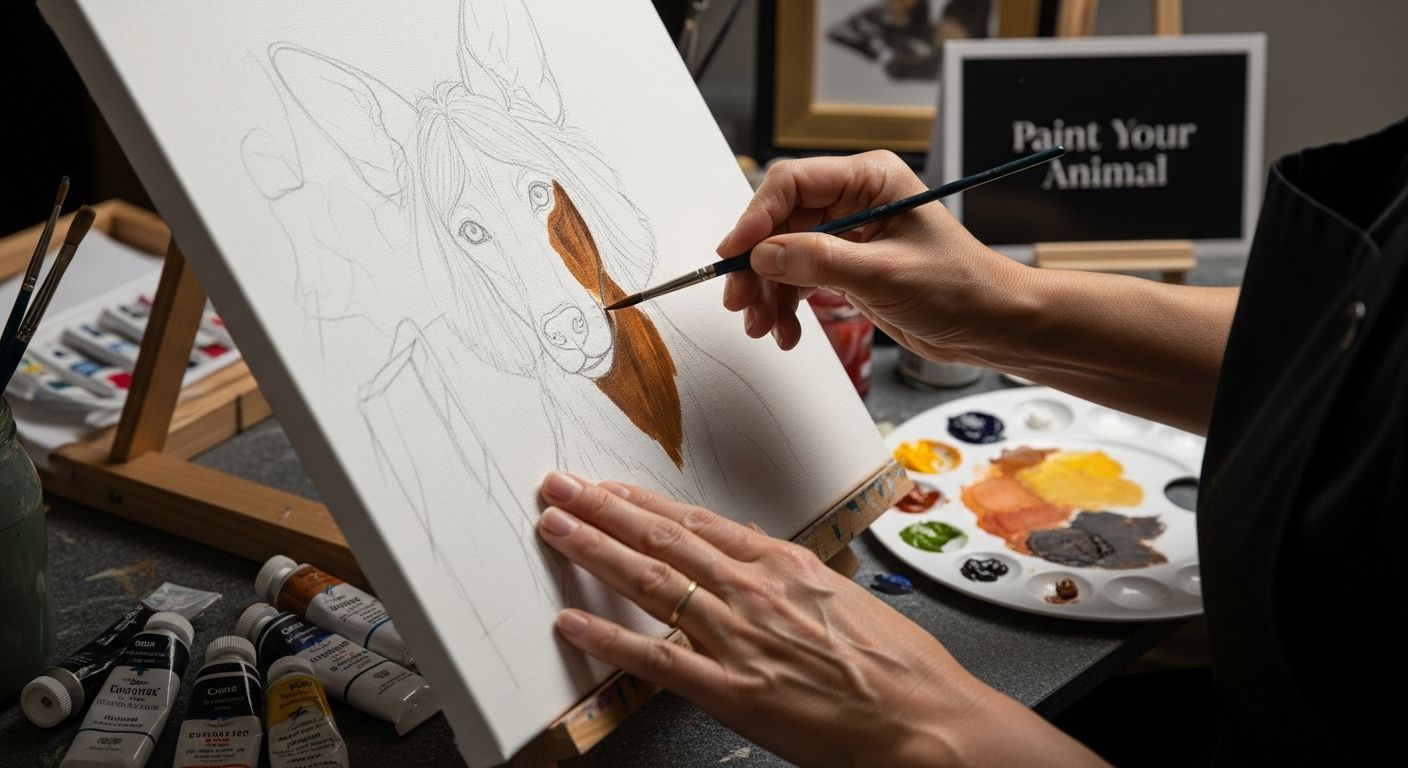
Step 3: Sketch Your Animal Design on Canvas
Transforming your chosen animal reference image into a preliminary sketch requires patience, observation, and a systematic approach. Sketching is the critical foundation that will guide your entire painting process, serving as a roadmap for color, texture, and composition.
Begin by lightly marking the canvas with basic geometric shapes that capture the animal’s fundamental structure, focusing on proportions and overall form before diving into intricate details.
Start your sketch using a soft graphite pencil, which allows for easy adjustments and minimal canvas damage. Position your reference image where you can comfortably view it alongside your canvas, enabling direct comparison and accurate proportional mapping. Break the animal’s form into simple geometric shapes like circles, triangles, and rectangles to establish the basic skeletal structure. This approach helps maintain correct proportions and prevents common beginner mistakes of creating disproportionate or unrealistic animal representations.
Key sketching techniques to remember:
- Use light, loose pencil strokes
- Begin with large, basic shapes
- Measure proportions by comparing different body parts
- Avoid pressing too hard on the canvas
- Step back periodically to assess overall composition
Uncover advanced painting techniques that can enhance your sketching skills and help you translate reference images more effectively. Pay special attention to the animal’s unique characteristics like fur direction, muscle definition, and distinctive features that capture its individual personality. Trace the contours of major body parts first, then gradually add more refined lines to suggest muscle structure, facial expressions, and subtle anatomical nuances.
Once your preliminary sketch feels balanced and accurately represents your reference image, take a moment to evaluate your work. Check proportions by measuring different body segments against each other, ensure the pose feels natural, and confirm that the sketch captures the essence of your chosen animal. A successful sketch provides a solid foundation that will guide your painting technique, making the subsequent color and detail application much more intuitive and enjoyable.
Step 4: Select Colors and Mix Your Paints
Selecting and mixing colors is an art form that transforms your animal painting from a simple sketch to a vibrant, living representation. Color selection requires both technical understanding and creative intuition, demanding careful observation of your reference image and an appreciation for the subtle nuances in animal fur, skin, and environmental tones. Your palette will become a storytelling tool, communicating the animal’s texture, mood, and natural habitat.
Begin by studying your reference image meticulously, identifying the primary and secondary colors present in the animal’s coat, skin, or feathers. Avoid using colors directly from the tube, as pure pigments rarely capture the complex color variations found in nature. Instead, practice mixing colors to create depth, warmth, and realistic texture. Start with a limited palette of primary colors red, blue, and yellow and gradually introduce white and black to adjust brightness and create shadows.
Essential color mixing tips include:
- Always mix colors in small quantities
- Clean your brush thoroughly between color mixes
- Test mixed colors on a separate piece of paper
- Use a white palette for easier color blending
- Create color swatches to track your mixtures
Explore advanced painting techniques that can help refine your color mixing skills. Experiment with layering transparent and opaque colors to create depth and dimension. For instance, when painting a tiger, you might start with a warm ochre base, then layer burnt sienna and raw umber to capture the rich, complex tones of its fur. Remember that shadows are not simply dark versions of the base color but often contain unexpected hues like deep purples or cool blues.
Verify your color mixing success by comparing your mixed colors to the reference image. Step back periodically and squint to assess the overall color harmony. A well-mixed palette should feel cohesive, with colors that complement each other and accurately represent the animal’s natural coloration. The goal is not photographic reproduction, but a painterly interpretation that captures the essence and spirit of your chosen subject.
Step 5: Paint Your Animal with Layering Techniques
Layering is the magical technique that transforms a flat painting into a three-dimensional, lifelike representation of your chosen animal. Successful layering requires patience, strategic planning, and a deep understanding of how colors interact and build depth. Think of your painting as a visual journey, where each layer contributes to the final narrative of texture, light, and emotional resonance.
Begin with a base layer that establishes the fundamental color and tone of your animal. This initial layer should be thin and translucent, allowing the canvas texture and underlying sketch to provide subtle guidance. Use broader brushes for this stage, applying paint with gentle, consistent strokes that follow the animal’s natural contours. Pay special attention to the direction of fur, feathers, or skin patterns, as this will guide your subsequent layering techniques and create a sense of natural movement and authenticity.
Key layering strategies to remember:
- Start with lighter colors and gradually build darker tones
- Allow each layer to dry completely before adding the next
- Use progressively smaller brushes for increased detail
- Vary brush stroke directions to create texture
- Blend edges softly to maintain natural transitions
Discover professional painting techniques that can elevate your layering skills. As you progress, introduce mid-tone layers that add complexity and depth to your animal portrait. These intermediate layers are where you’ll capture the subtle variations in color and texture that make your painting feel alive. For a fur-covered animal, this might mean adding slightly varied shades of brown or grey, creating the illusion of individual hair strands and natural light interaction.
The final layers are about refinement and detail. Use fine brushes to add highlights that suggest shine, shadow areas that provide depth, and precise details like eye reflections or subtle muscle definitions. Step back frequently during this process, assessing your work from a distance to ensure the layers are building a cohesive, realistic representation. Your goal is not photographic precision, but a painterly interpretation that captures the spirit and essence of your animal subject.
Step 6: Finalize and Protect Your Artwork
The final stage of your animal painting journey is about preservation and presentation, transforming your creative effort into a lasting artwork that can be cherished for years. Protecting your painting is as crucial as the creative process itself, ensuring the vibrant colors and intricate details remain intact against environmental factors like dust, humidity, and light exposure. This step is about safeguarding the emotional and artistic investment you have poured into your animal portrait.
Begin by allowing your painting to dry completely for at least 24 hours after your final layer. Patience is key during this critical preservation phase. Once fully dry, consider applying a protective varnish that will seal the painting, enhance color depth, and provide a uniform finish. Choose between matte, satin, or glossy varnish based on the aesthetic effect you want to achieve. Apply the varnish in thin, even strokes using a clean, soft brush, working in a dust-free environment to prevent particles from settling on the surface.
Essential artwork protection steps:
- Use professional-grade varnish appropriate for your paint type
- Apply varnish in a well-ventilated, dust-free area
- Use smooth, consistent brush strokes
- Allow sufficient drying time between varnish coats
- Handle the artwork with clean, dry hands
Learn more about artwork preservation techniques that can help maintain your painting’s quality. Consider professional framing to provide additional protection and enhance the artwork’s visual presentation. Choose a frame that complements both the painting and your intended display space, ensuring the frame’s materials will not react negatively with the painting over time. Use acid-free mounting materials and consider adding a protective glass or acrylic cover that filters harmful UV rays.
Finally, document your artwork by taking high-quality photographs from multiple angles. These images serve as a personal record of your artistic journey and can be valuable for portfolios, social media sharing, or simply preserving memories of your creative process. Store the painting in a cool, dry place away from direct sunlight when not on display, and take pride in the unique animal portrait you have meticulously crafted.
Ready to Bring Your Animal Paintings to Life with the Right Supplies?
You have learnt the importance of choosing quality materials, building solid sketches, and mastering layering techniques. But many artists struggle to find reliable art supplies and inspiring project kits to bridge the creative gap from first outline to the final protected artwork. Searching for trusted, affordable painting materials or easy-access reference kits can stall your progress and steal the excitement from your creative journey. At Blue Pea, we understand how much your passion matters and want to see you succeed from your very first brushstroke.
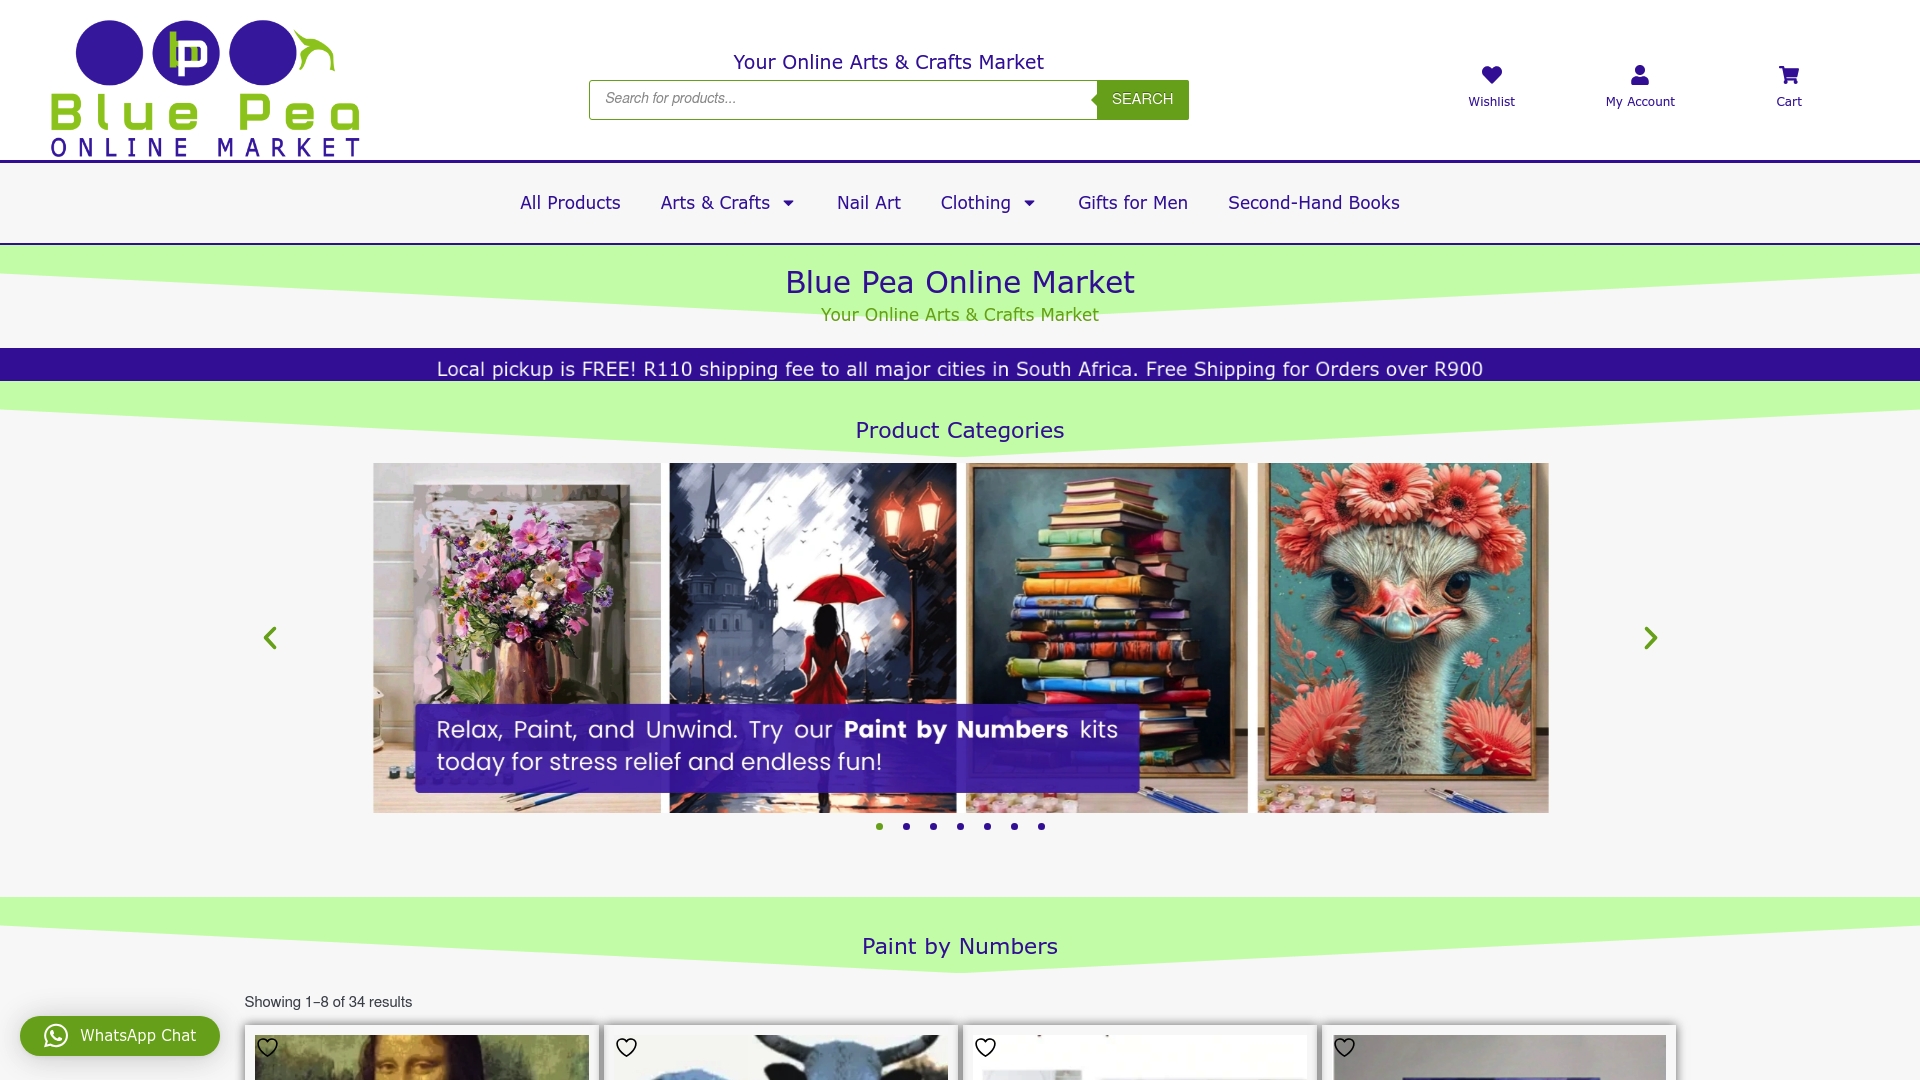
Join thousands of South African crafters who find everything they need in one place. Explore painting supplies, ready-to-go paint by number kits, and sketching tools tailored for animal art enthusiasts. Whether you need inspiration or want to upgrade your toolbox, now is the perfect moment to stock up and set your project in motion. Take the next confident step – visit Blue Pea Online to start creating vibrant animal portraits with quality materials delivered straight to your door.
Frequently Asked Questions
What materials do I need to start painting animals?
You will need high-quality paintbrushes in various sizes, canvas or heavyweight painting paper, a palette, appropriate paints, a pencil for sketching, erasers, a water container, and paper towels or clean rags.
How do I select the right colors for my animal painting?
Study your reference image and identify primary and secondary colors present in the animal’s fur or skin. Avoid using straight colors from the tube; instead, mix to create depth and realism.
What techniques should I use when sketching my animal design?
Use light pencil strokes to begin with basic geometric shapes to establish proportions, then gradually add detailed lines for fur direction, muscle structure, and facial expressions.
How can I effectively layer paint in my animal artwork?
Start with a thin base layer, gradually add mid-tones for complexity, and use smaller brushes for detail. Blend edges softly and always allow each layer to dry completely before adding the next.
Recommended
- Essential Painting Techniques for Beginners in South Africa 2025 – Blue Pea Online Market
- Top Paint by Numbers Tips for South African Crafters 2025 – Blue Pea Online Market
- Using Stencils on Wood: Tips for South African Crafters 2025 – Blue Pea Online Market
- Drawing vs Painting: Explore Techniques for South African Crafters 2025 – Blue Pea Online Market
Unlocking Creative Potential: Advanced Techniques for Epoxy Resin Art
– RESIN4DECOR
