Finishing a cross stitch project feels amazing when you’ve spent hours carefully lining up each tiny stitch. Some folks think you just need a sharp pair of scissors and a bit of extra fabric to get a neat result. But actually, the difference between a wrinkled keepsake and a gallery-ready cross stitch comes down to preparation and the right finishing materials. The smallest details will set you apart from casual crafters.
Table of Contents
- Step 1: Gather Your Finishing Materials
- Step 2: Prepare Your Cross Stitch Fabric
- Step 3: Secure The Edges Of Your Work
- Step 4: Frame Or Finish Your Cross Stitch Piece
- Step 5: Display Or Gift Your Finished Project
Quick Summary
| Key Point | Explanation |
|---|---|
| 1. Choose the right fabric for backing | Use sturdy fabrics like muslin or linen to give your cross stitch a professional appearance. Lightweight interfacing adds stability to your artwork. |
| 2. Clean and press your fabric carefully | Hand wash your cross stitch with mild detergent, block it to restore shape, and iron at low heat to preserve stitches. |
| 3. Secure edges with proper techniques | Use hand sewing or zigzag machine stitching to prevent fraying, ensuring edges are neat and preserve the integrity of your design. |
| 4. Frame or mount professionally | Select frames that complement your design, ensuring the cross stitch is securely mounted with acid-free materials for long-term preservation. |
| 5. Display or gift thoughtfully | Choose appropriate locations for display and consider the recipient’s taste when gifting, ensuring your cross stitch is well-presented and appreciated. |
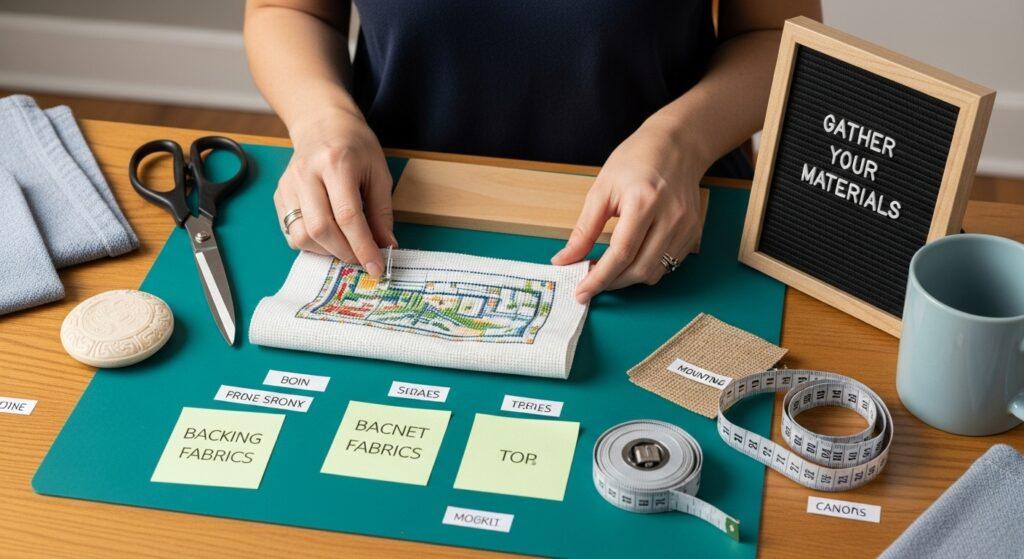
Step 1: Gather Your Finishing Materials
Successfully finishing a cross stitch project requires careful preparation and the right materials. Before you begin transforming your carefully stitched artwork into a polished final piece, collecting the appropriate tools and supplies will make the entire process smoother and more enjoyable.
Essential Materials for Cross Stitch Finishing
To start your cross stitch finishing journey, you will need several key items. Fabric selection is crucial for creating a professional look. Opt for a sturdy backing fabric like muslin or linen that complements your stitched design. Lightweight interfacing can provide additional stability and help your piece maintain its shape.
Your finishing toolkit should include several precision tools. Sharp fabric scissors are non negotiable – choose a pair dedicated exclusively to fabric work to ensure clean, precise cuts. A measuring tape or ruler will help you align and trim your fabric accurately. Straight pins with glass heads are excellent for temporarily holding fabric layers together without causing damage.
For mounting and framing, you will want additional supplies. Select an appropriately sized embroidery hoop or frame that showcases your design beautifully. Neutral coloured backing board provides structural support. According to University of South Africa’s Textile Research Module, understanding textile finishing techniques is essential for achieving professional results.
Additional recommended materials include:
- Acid free mounting board
- Archival quality tape or adhesive
- Fine needles for hand sewing
- Iron and ironing board for pressing
- Neutral thread matching your fabric colour
Before beginning your finishing process, take time to organize your workspace and lay out all materials. Having everything prepared will help you work methodically and avoid unnecessary frustration. Remember that patience and careful preparation are key to transforming your cross stitch from a raw piece of embroidery into a beautifully presented artwork ready for display.
Use this table to quickly reference essential materials and their purposes for finishing your cross stitch projects professionally.
| Material/Tool | Purpose | Notes |
|---|---|---|
| Muslin or Linen Backing | Provides structure and professional look | Choose sturdy, neutral-coloured |
| Lightweight Interfacing | Adds stability to cross stitch | Optional for extra support |
| Sharp Fabric Scissors | For precise, clean cutting of fabric | Keep reserved for fabric use only |
| Measuring Tape or Ruler | Ensures accurate measuring and alignment | Useful for trimming and blocking |
| Glass-Headed Straight Pins | Temporarily hold fabric layers together | Won’t damage fabric |
| Embroidery Hoop or Frame | Mounts and displays finished piece | Match size to artwork |
| Acid-Free Mounting Board | Structural support to prevent discolouration | Essential for framing |
| Archival Quality Tape | Secures cross stitch to mounting board | Prevents long-term damage |
| Fine Hand-Sewing Needles | For neat edge stitching and assembling | Use for delicate fabric work |
| Iron & Ironing Board | Presses fabric for smooth finish | Always use with protective cloth |
| Neutral Thread | For edge finishing and assembly | Match to backing fabric colour |
Step 2: Prepare Your Cross Stitch Fabric
Preparing your cross stitch fabric is a critical step that determines the overall quality and professional appearance of your finished project. This stage transforms your raw embroidery into a polished piece of art, requiring precision and careful handling.
Cleaning and Pressing Your Fabric begins with gentle handling. Remove your completed cross stitch from its working hoop or frame carefully, avoiding any unnecessary stretching or distortion. Gently hand wash the fabric using lukewarm water and a mild, unscented detergent specifically designed for delicate textiles. Avoid wringing or twisting the fabric, which can damage your intricate stitches.
After washing, block your fabric to restore its original shape and remove any wrinkles or distortions. Lay a clean white towel on a flat surface and place your cross stitch face down. Using clean pins, carefully stretch the fabric to its original geometric shape, ensuring all edges are straight and corners are precise. Allow the fabric to air dry completely, which helps maintain its shape and prevents potential shrinkage.
Ironing requires extreme caution. Set your iron to a low heat setting suitable for delicate fabrics. Place a thin cotton cloth between the iron and your cross stitch to protect the embroidery. Gently press the fabric, moving the iron in light, smooth motions. Avoid applying direct pressure or leaving the iron stationary, which could damage your intricate stitches.
To master more cross-stitching techniques, understanding fabric preparation is crucial. According to University of South Africa’s Textile Research Module, proper textile finishing involves careful handling and precise techniques.
![]()
Verification checklist for fabric preparation:
- Fabric is clean and free from visible stains
- No visible wrinkles or distortions
- Edges are straight and geometric
- Fabric is completely dry
- Stitches remain intact and undamaged
Take your time during this stage. Rushing can lead to permanent damage to your carefully crafted cross stitch. Patient, methodical preparation ensures your artwork will look professional and be preserved for years to come.
Use this checklist table to verify that your fabric has been correctly prepared before moving on to mounting or framing your cross stitch.
| Fabric Preparation Check | Status (Tick when done) |
|---|---|
| Fabric is clean and free from stains | |
| No wrinkles or distortions visible | |
| All edges straight and geometric | |
| Fabric air dried completely | |
| Stitches remain intact and undamaged |
Step 3: Secure the Edges of Your Work
Securing the edges of your cross stitch is a critical step that transforms your delicate embroidery into a durable and professional looking piece. This process prevents fabric fraying and ensures your artwork remains intact for years to come.
Selecting the right edge finishing technique is essential for maintaining the integrity of your cross stitch. For most projects, hand sewing provides the most precise and gentle approach. Begin by trimming excess fabric around your design, leaving approximately 2-3 centimetres of margin. This extra fabric gives you room to work while preventing accidental cutting into your stitched area.
The overcast stitch offers an excellent method for edge protection. Create small, evenly spaced diagonal stitches along the fabric’s perimeter, ensuring each stitch catches both the main fabric and the edge. Work slowly and consistently, maintaining uniform tension to create a clean, professional finish. According to University of South Africa’s Textile Research Module, proper textile finishing involves meticulous attention to edge treatment.
For those preferring alternative methods, zigzag machine stitching can provide a quick and effective edge finish. If using a sewing machine, select a fine, close zigzag setting and carefully guide your fabric to maintain straight edges. Be cautious when machine stitching to avoid distorting your delicate cross stitch design.
Alternatively, some crafters prefer using fusible interfacing as an edge stabilization technique. Cut a lightweight interfacing slightly smaller than your fabric margin, then iron it carefully onto the fabric’s reverse side. This method provides additional structure and prevents fraying without adding bulk to your finished piece.
Verification checklist for edge securing:
- Edges are clean and uniform
- No visible fabric fraying
- Stitches are consistent and secure
- No distortion of original cross stitch design
- Fabric margins are neat and trimmed
Remember that patience is key during this stage. Take your time to ensure each stitch is placed with precision. A well-secured edge not only protects your artwork but also contributes significantly to its overall professional appearance.
This table summarises different techniques for securing the edges of your cross stitch, comparing their approach, advantages, and when to use each method.
| Technique | How It Works | Best For | Advantages |
|---|---|---|---|
| Overcast Stitch | Hand sewn diagonal stitches along the edge | Most hand-finished pieces | Precise, gentle, minimal fabric stress |
| Zigzag Machine Stitch | Close zigzag stitch using sewing machine | Quicker edge finishing | Fast, secures edges against fraying |
| Fusible Interfacing | Iron-on lightweight interfacing on reverse | Extra stabilisation needed | No bulk, prevents fraying, adds support |
By investing careful attention in this step, you are preserving your creative work for future enjoyment and potentially passing down a cherished heirloom.
Step 4: Frame or Finish Your Cross Stitch Piece
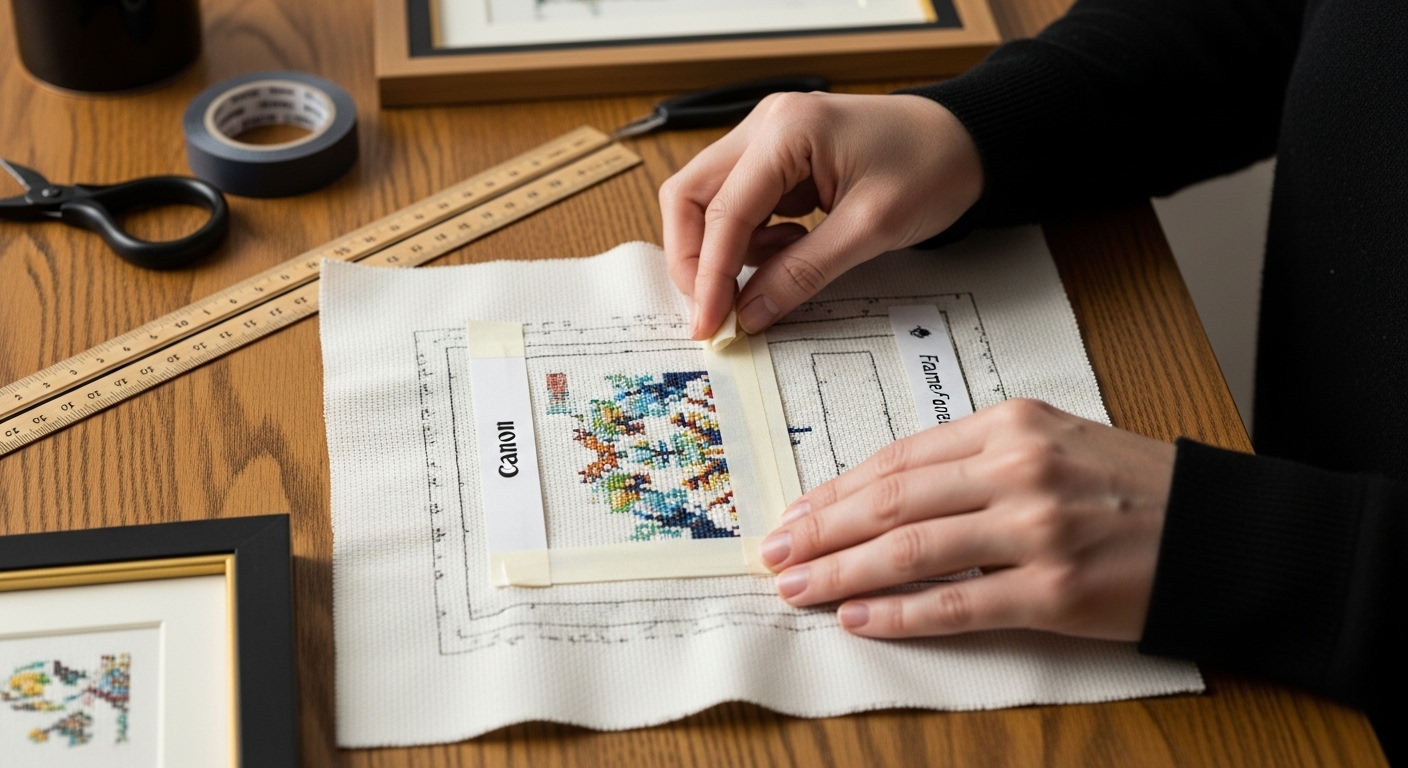
Framing your cross stitch transforms your carefully crafted artwork from a simple embroidery project into a displayable piece of art. This final step requires thoughtful selection of mounting and framing techniques that complement your design and protect your work for years to come.
Selecting the right frame involves considering both aesthetic and preservation aspects. Begin by measuring your completed cross stitch precisely, accounting for any additional fabric needed for mounting. Traditional wooden frames work beautifully for classic designs, while minimalist metal frames suit more contemporary pieces. Glass or acrylic cover options provide protection from dust and potential damage.
Professional mounting requires acid free materials to prevent fabric discoloration. Cut a mounting board slightly smaller than your frame’s interior dimensions. Position your cross stitch centrally, using archival quality tape or pins to secure it without causing fabric damage. Ensure the fabric is taut and smooth, with no visible wrinkles or bubbles that might detract from your intricate stitching.
If traditional framing seems challenging, alternative display methods offer creative solutions. Embroidery hoops can serve as both frame and display method, creating a rustic, contemporary look. Select a hoop slightly larger than your design, allowing enough fabric margin to secure it neatly. Trim excess fabric and fold it behind the hoop, using fabric glue or small stitches to create a clean finish.
According to University of South Africa’s Textile Research Module, understanding textile finishing techniques is crucial for preserving craft work. While exploring different display options might seem daunting, remember that diamond dot crafting shares similar finishing principles.
Verification checklist for framing and finishing:
- Fabric is smooth and wrinkle free
- Mounting is secure and centered
- No visible tape or glue marks
- Frame complements cross stitch design
- Artwork is protected from dust and potential damage
Take time to step back and appreciate your work.
 The final framing stage is where your personal creativity truly shines, turning hours of meticulous stitching into a professional, displayable artwork that reflects your skill and dedication.
Step 5: Display or Gift Your Finished Project
Congratulations on completing your cross stitch masterpiece! The final stage of your creative journey involves thoughtfully selecting how to showcase or share your artwork, transforming your hours of meticulous stitching into a cherished display or meaningful gift.
Selecting the perfect display location requires consideration of both aesthetic and practical elements. Choose a space with consistent lighting that highlights your intricate work without direct sunlight, which can cause fabric discoloration. Consider areas like living room walls, hallway nooks, or personal study spaces where your artwork can be appreciated without excessive moisture or temperature fluctuations.
When contemplating gifting your cross stitch, personalization becomes key. Select recipients who will genuinely appreciate handcrafted artwork. Family members, close friends, or individuals who share your passion for needlework often become the most appreciative recipients. Consider the recipient’s home decor style and color preferences to ensure your artwork complements their living space.
Framing plays a crucial role in presentation. For display or gifting, ensure your frame matches the artwork’s style and the intended environment. Neutral frames work universally, while more ornate frames can complement specific design themes. Protect your artwork by using acid free backing materials and considering UV protective glass to prevent fading.
According to University of South Africa’s Textile Research Module, proper textile presentation enhances the artwork’s perceived value. While exploring display options, you might find diamond dotting techniques offer similar creative possibilities for artistic expression.
Considerations for gifting and displaying your cross stitch:
- Artwork is clean and professionally finished
- Frame complements the design
- Location protects from direct sunlight
- Recipient appreciates handcrafted artwork
- Artwork is mounted securely
Remember that your cross stitch represents more than mere thread and fabric. It embodies patience, creativity, and personal expression. Whether displayed in your home or gifted to a loved one, your artwork carries a piece of your dedication and artistic spirit. Take pride in your accomplishment and enjoy the joy your handcrafted piece will bring.
Transform Your Cross Stitch Into a Masterpiece With South Africa’s Top Craft Supplier
You have spent hours perfecting every stitch, yet the real challenge comes when you want your work to look as polished as a gallery piece. The article covered every step, from choosing the right materials and securing your edges, to framing so your craft endures. But sourcing quality supplies in South Africa can be overwhelming, and finding trusted guidance or the correct acid-free boards, mounting materials, and finishing extras often feels like searching for a needle in a haystack.

Bid frustration farewell and finish your cross stitch with absolute confidence by browsing https://bluepeaonline.co.za. Discover an unbeatable selection of cross-stitching kits, archival supplies, frames and unique finishing solutions all in one place. Let your next project stand out beautifully. Visit Blue Pea Online today to shop, get inspired, and finally display your creation with professional pride.
Frequently Asked Questions
How do I prepare my cross stitch fabric for finishing?
To prepare your cross stitch fabric, gently hand wash it in lukewarm water with a mild detergent, avoiding wringing or twisting. After washing, block the fabric to restore its shape and air dry completely. Iron with a low heat setting, using a cloth to protect the stitches.
What is the best technique to secure the edges of my cross stitch?
The overcast stitch is a great technique for securing the edges of your cross stitch. Trim the fabric, leaving a 2-3 cm margin, and create small diagonal stitches along the perimeter to prevent fraying. Alternatively, you can use zigzag machine stitching or fusible interfacing for quick edge stabilization.
What are the recommended materials for framing my cross stitch?
For framing your cross stitch, use acid-free mounting board and archival quality tape to secure the fabric. Choose a frame that complements your design, ensuring to select glass or acrylic cover options for protection. Neutral colored frames generally work well for diverse styles.
How can I display or gift my finished cross stitch effectively?
When displaying your finished cross stitch, choose a location with consistent lighting that avoids direct sunlight. Consider personalizing the piece when gifting it by matching the recipient’s decor style. Use a suitable frame and protective materials to enhance presentation and durability.
