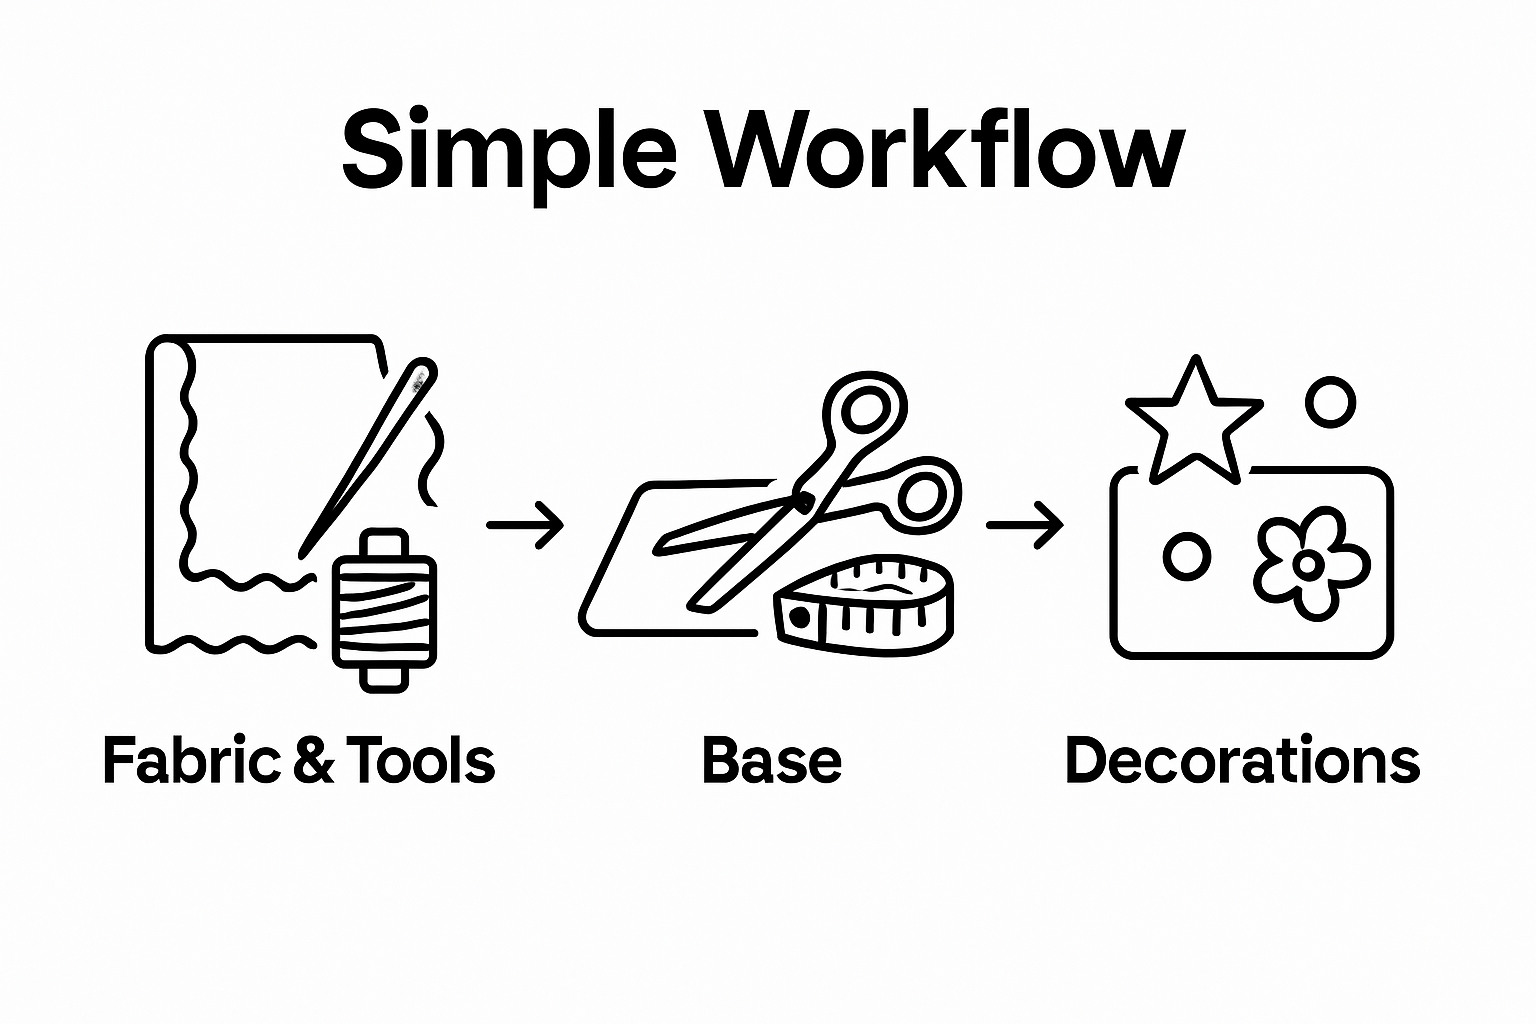
DIY wall hanging crafts can instantly lift any plain room, making dull walls come alive with colour and texture. Most folks think you need fancy tools or expensive materials for a showstopper result. The truth is, just a few common items like fabric, dowels, glue, and imagination are all it takes to start crafting something extraordinary. Wait until you see how easy it actually is to create a breathtaking piece that looks professional and feels truly personal.
Table of Contents
- Step 1: Gather Your Materials And Tools
- Step 2: Choose Your Design And Layout
- Step 3: Create The Base For Your Wall Hanging
- Step 4: Add Decorative Elements And Textures
- Step 5: Secure And Mount Your Wall Hanging
- Step 6: Review And Adjust For Final Presentation
Quick Summary
| Key Point | Explanation |
|---|---|
| 1. Gather quality materials thoughtfully | Select high-quality fabrics and tools to ensure durability and enhance your wall hanging’s appeal. |
| 2. Explore design inspirations methodically | Investigate various sources for design ideas that align with your personal style and existing decor. |
| 3. Prepare a sturdy base properly | Use medium-weight fabric and precise cutting to create a solid foundation for your wall hanging. |
| 4. Focus on adding textures creatively | Incorporate diverse decorative elements to enhance visual interest without overwhelming the main design. |
| 5. Execute careful final adjustments | Review and refine your wall hanging’s presentation to achieve a polished final look and overall harmony. |
Step 1: Gather Your Materials and Tools
Creating stunning DIY wall hanging crafts requires thoughtful preparation and a strategic approach to gathering materials. Your success begins with assembling the right tools and supplies that will transform your creative vision into a beautiful reality. Before diving into the crafting process, you’ll want to curate a collection of items that will support your artistic endeavour.
Start by selecting a dedicated workspace with ample natural or artificial light where you can spread out your materials comfortably. Recommended core materials will typically include:
- Cotton or linen fabric
- Wooden dowels or decorative rods
- Embroidery thread or macrame cord
- Sharp fabric scissors
- Measuring tape
- Hot glue gun or fabric adhesive
- Decorative elements like beads, tassels, or dried flowers
Quality matters when selecting your supplies, so invest in materials that feel substantial and align with your aesthetic preferences. Natural fibres like cotton and linen provide excellent texture and durability for wall hangings, while synthetic materials can offer unique colour variations and easier maintenance.
Carefully examine each tool and material before beginning your project.
 Ensure your scissors are sharp, your measuring tape is accurate, and your chosen fabrics are free from significant imperfections. Research from the University of the Western Cape highlights the importance of material selection in craft projects, emphasizing how thoughtful preparation can significantly impact the final outcome.
Organize your workspace by laying out materials in a logical sequence, creating an efficient workflow that minimizes interruptions during the crafting process.
Here is a table summarising the key materials and tools needed for creating a DIY wall hanging, along with their purposes to help you plan your craft session efficiently.
| Material/Tool | Purpose |
|---|---|
| Cotton or linen fabric | Forms the main base for the wall hanging |
| Wooden dowels or rods | Provides structure and means to hang the piece |
| Embroidery thread/macrame cord | Adds design detail, texture, and structural elements |
| Sharp fabric scissors | Ensures clean, precise cuts for a professional finish |
| Measuring tape | Helps accurately size materials and maintain proportions |
| Hot glue gun or fabric adhesive | Secures decorative elements and strengthens structure |
| Decorative items (beads/tassels/dried flowers) | Enhances the aesthetic with unique textures and focal details |
Step 2: Choose Your Design and Layout
Selecting the perfect design and layout for your DIY wall hanging craft is a crucial step that transforms raw materials into a personalized artistic expression. This stage requires careful consideration of your space, personal aesthetic, and the emotional impact you want to create within your home environment.
Begin by exploring inspiration sources that resonate with your personal style. Potential design sources might include interior design magazines, Pinterest boards, craft blogs, or traditional textile patterns from various cultural traditions. Consider the existing colour palette and decor of the room where your wall hanging will be displayed, ensuring your creation complements the surrounding space.
Sketch out preliminary design concepts on paper, mapping how different elements will interact. Experiment with potential layout variations:
- Symmetrical geometric patterns
- Asymmetrical free-form designs
- Cascading vertical arrangements
- Circular or mandala-inspired compositions
- Minimalist linear structures
Research from the University of Pretoria emphasizes the critical role of intentional design in craft production, suggesting that thoughtful planning significantly enhances the final artistic outcome. Consider the visual weight and balance of your design, paying attention to how colours, textures, and shapes will interact.
Take time to visualize your design in the intended space. Hold up your materials against the wall, use painter’s tape to outline potential layouts, or create a digital mockup to help you refine your vision. This preparatory work allows you to make adjustments before committing to a final design, ensuring your wall hanging will be a harmonious addition to your home’s aesthetic. Trust your creative instincts while remaining open to subtle refinements that emerge during the design process.
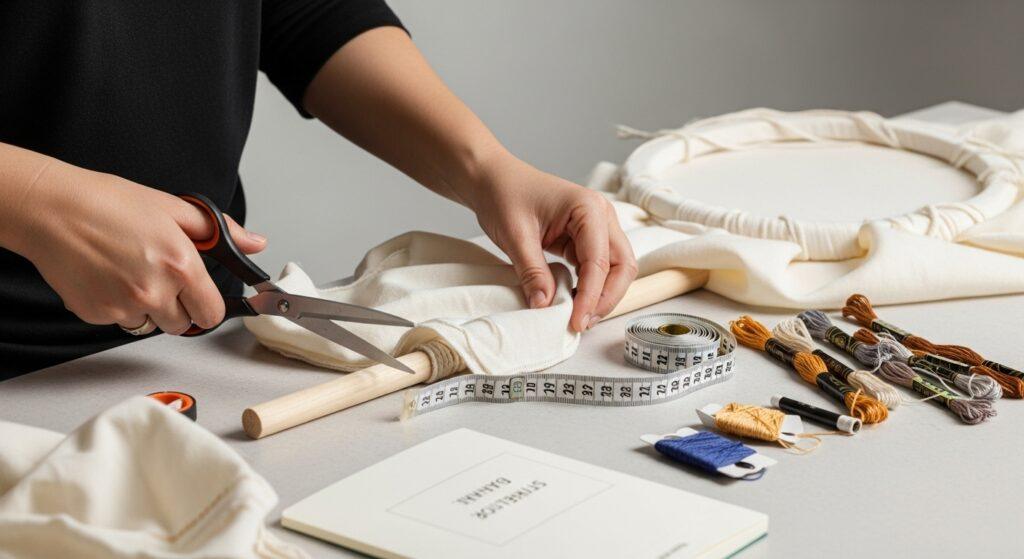
Step 3: Create the Base for Your Wall Hanging
Establishing a solid base is the foundation of any successful DIY wall hanging craft. This critical step determines the structural integrity and visual appeal of your final artwork. Your base will serve as the canvas upon which your creative vision will unfold, requiring precision, patience, and careful technique.
Fabric selection plays a pivotal role in creating a robust base. Choose a medium-weight fabric that provides enough stiffness to maintain its shape while remaining flexible enough to manipulate. Natural fibres like cotton or linen work wonderfully, offering excellent texture and durability. Pre-wash your fabric to prevent future shrinkage and remove any sizing or chemical treatments that might interfere with your design process.
Prepare your fabric by cutting a clean, straight edge. Use sharp fabric scissors and a measuring tape to ensure precision. If your design requires multiple fabric panels, carefully align and pin them together, ensuring seamless integration. Some crafters prefer using an iron to create crisp edges and remove any wrinkles that might distort the final design.
Key base preparation techniques include:
- Measuring and marking cutting lines with fabric chalk
- Using a rotary cutter for extremely precise edges
- Applying lightweight interfacing for additional stability
- Hemming edges to prevent fraying
Research from the University of Pretoria underscores the importance of meticulous base preparation in craft design, highlighting how foundational work significantly impacts the final artistic outcome.
Once your base is cut and prepared, lay it flat on a clean surface and smooth out any remaining wrinkles. Run your hands across the fabric, checking for evenness and preparing it for the next stage of your wall hanging creation. A well-prepared base sets the stage for a professional-looking final product that will showcase your artistic vision with clarity and precision.
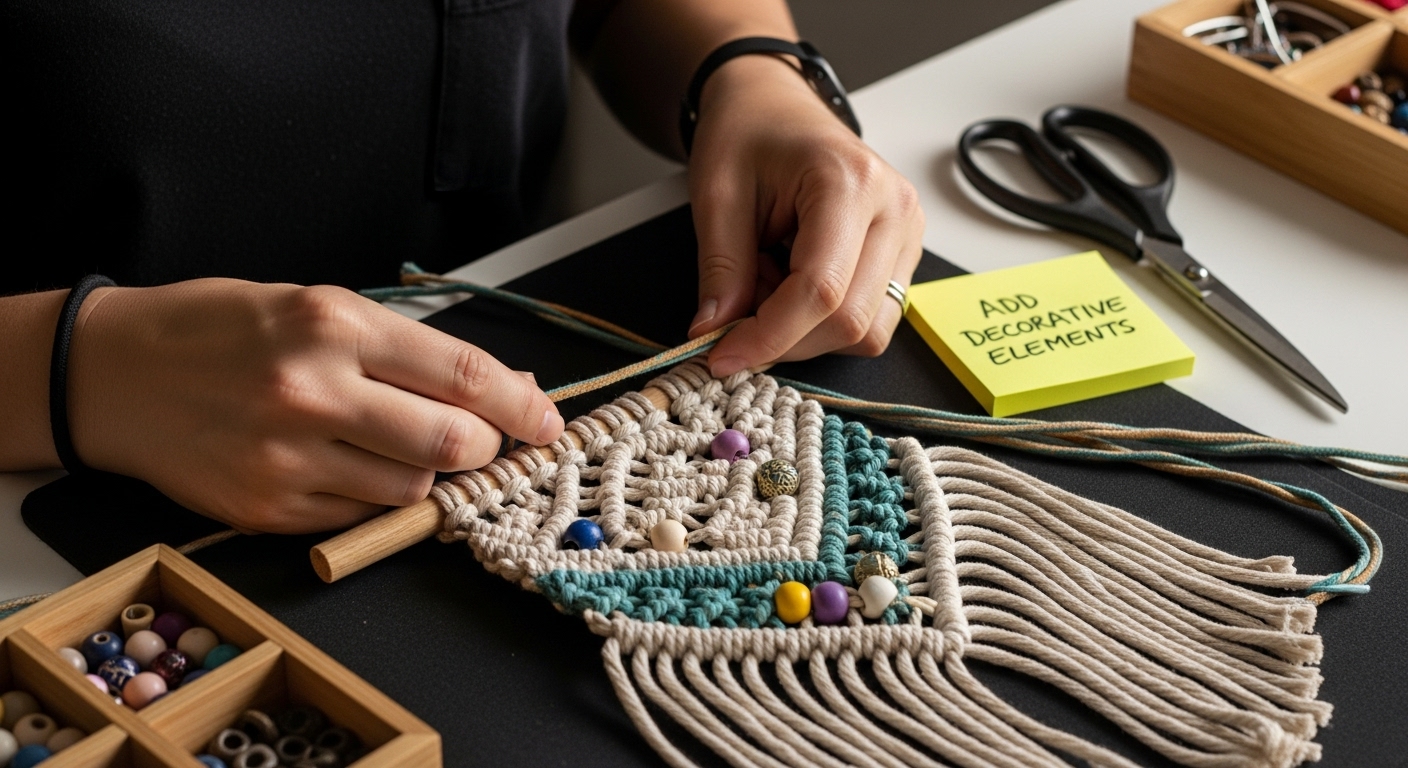
Step 4: Add Decorative Elements and Textures
Decorative elements breathe life and personality into your wall hanging, transforming a simple craft project into a stunning piece of art. This step is where your creativity truly shines, allowing you to infuse personal style and unique textures that reflect your artistic vision.
Texture exploration becomes your primary focus during this stage. Consider incorporating diverse materials that add depth and visual interest to your wall hanging. Macrame cord, embroidery thread, small wooden beads, dried flowers, and delicate tassels can create intricate layers of texture. When selecting these elements, think about how they will interact with your base fabric and overall design concept.
Attachment techniques require careful consideration. Hot glue works well for lightweight decorative elements, while fabric adhesive provides a more permanent bond. For delicate materials like dried flowers or feathers, hand stitching offers the most secure and refined attachment method. Take your time positioning each element, stepping back periodically to assess the overall composition.
Essential decorative approaches include:
- Layering different thread thicknesses
- Creating dimensional effects with strategic embellishment placement
- Mixing metallic and matte texture elements
- Incorporating natural materials like wood or stone
- Using subtle colour gradients
Research from the University of Pretoria highlights the importance of intentional design in craft production, reminding us that each decorative choice contributes to the artwork’s narrative.
For inspiration beyond this guide, check out our collection of creative wall hanging designs that showcase innovative texture combinations. Remember that balance is key when adding decorative elements. Your goal is to create visual interest without overwhelming the fundamental design, allowing each carefully chosen detail to enhance the overall aesthetic of your wall hanging.
Step 5: Secure and Mount Your Wall Hanging
Mounting your carefully crafted wall hanging transforms your artistic creation from a personal project into a stunning home decor piece. This final step requires precision, patience, and strategic planning to ensure your artwork is displayed safely and beautifully.
Wall preparation is your first critical consideration. Examine the wall surface carefully, identifying the most suitable location that complements your design and room aesthetics. Different wall materials like plaster, drywall, or brick demand specific mounting techniques. For lighter wall hangings, standard picture hooks or adhesive mounting strips work well. Heavier pieces might require anchors or wall plugs to provide secure support.
Mounting hardware selection becomes crucial for long-term stability. Consider the weight of your wall hanging and choose mounting hardware accordingly. Brass or stainless steel hooks offer durability and resistance to corrosion. Measure the hanging mechanism on your artwork precisely, ensuring it aligns perfectly with your chosen mounting point.
Essential mounting considerations include:
- Using a spirit level for precise horizontal alignment
- Marking mounting points with light pencil marks
- Choosing hardware compatible with your wall material
- Distributing weight evenly across mounting points
- Checking artwork stability after initial mounting
Research from the University of Cape Town emphasizes safety protocols when working with mounting materials, reminding crafters to work carefully and use appropriate protective equipment.
Once mounted, step back and assess your wall hanging from different angles.
Gently test its stability by lightly touching the edges, ensuring it remains securely in place. Natural light can dramatically enhance your artwork, so consider positioning that maximizes illumination and visual impact. Your handcrafted wall hanging is now ready to become a stunning focal point in your home, reflecting your creativity and artistic vision.
Step 6: Review and Adjust for Final Presentation
The final review and presentation stage transforms your DIY wall hanging from a crafting project into a professional art piece. This critical step demands a discerning eye and a commitment to perfecting every detail of your creation.
Visual assessment requires a systematic and objective approach. Hang your wall hanging in the intended space and step back, viewing it from multiple angles and distances. Natural and artificial lighting will reveal subtle nuances in texture, colour, and composition that might have been overlooked during the creation process. Pay close attention to how the piece interacts with surrounding decor, ensuring it complements rather than competes with other design elements.
Refinement techniques help elevate your artwork from good to exceptional. Gently steam or press any areas with wrinkles or uneven edges. Trim loose threads carefully, ensuring clean lines and a polished appearance. If certain decorative elements seem off-balance, carefully adjust their positioning or consider subtle additional embellishments to create visual harmony.
Key final presentation checks include:
- Ensuring even weight distribution
- Checking for symmetry and alignment
- Verifying secure attachment points
- Assessing overall colour and texture balance
- Confirming the piece reflects your original design vision
Research from the University of Cape Town underscores the importance of meticulous presentation in artistic projects, highlighting how careful final adjustments can significantly enhance the overall impact.
Document your creation by taking high-quality photographs from multiple angles. These images not only serve as a personal memento but can also inspire future projects or serve as a reference for technique refinement. Your wall hanging is now a unique piece of art that reflects your creativity, skill, and personal artistic vision.
The following table offers an at-a-glance checklist for the final presentation review, allowing you to quickly confirm completion of each detail before your wall hanging takes pride of place on your wall.
| Final Check | Description | Tick When Complete |
|---|---|---|
| Even weight distribution | Ensure weight is balanced across hardware | |
| Symmetry and alignment | Double-check straightness and proportions | |
| Attachment point security | Confirm all glue/stitch points are firm | |
| Colour and texture balance | Make sure there is harmony and no clashes | |
| Original vision reflected | Compare with your design intent | |
| All threads trimmed/neatly finished | Remove loose or uneven threads |
Elevate Your DIY Wall Hanging Project with the Right Supplies
You have gathered ideas, explored design possibilities and read up on professional techniques for crafting standout wall hangings. But turning your creative dream into a reality is not always easy. Maybe you struggle with finding high-quality fabric, decorative elements or reliable tools. Perhaps you worry your artwork will fall short of your vision because your supplies are missing that special touch. These are real hurdles on your path from inspiration to execution, and the right support makes all the difference.

Transform your crafting experience with South Africa’s largest online arts & crafts store. Find everything from fabric to wooden dowels to unique embellishments in one convenient spot. Access premium art supplies and creative kits and never be stuck searching for that perfect finishing detail again. You have already planned your wall hanging down to the last bead or tassel. Now it is time to bring your unique vision to life. Visit bluepeaonline.co.za and shop now while inspiration is fresh. Give your hands the tools they need to create something extraordinary.
Frequently Asked Questions
What materials do I need for DIY wall hanging crafts?
You will typically need cotton or linen fabric, wooden dowels or decorative rods, embroidery thread or macrame cord, sharp fabric scissors, measuring tape, a hot glue gun or fabric adhesive, and decorative elements like beads, tassels, or dried flowers for your DIY wall hanging crafts.
How do I choose the right design for my wall hanging?
Select a design that resonates with your personal style and complements the existing decor of your room. Explore inspiration from design magazines, Pinterest, or cultural textile patterns, and consider sketching out preliminary designs to visualize how different elements will interact.
What techniques should I use to create the base for my wall hanging?
For a robust base, choose medium-weight fabric like cotton or linen, pre-wash it, and ensure you cut clean, straight edges using sharp scissors. You might also consider measuring and marking cutting lines with fabric chalk and hemming edges to prevent fraying.
How can I effectively mount my completed wall hanging?
Assess the wall surface and select appropriate mounting hardware based on the weight of your wall hanging. Use a spirit level for alignment, mark mounting points carefully, and ensure even weight distribution across mounting points for stability.
