Craft supplies have a sneaky way of spreading across every available corner, making even the most creative projects feel chaotic. Most crafters admit they forget about materials they already own and end up buying duplicates, with over 60 percent of hobbyists saying they have lost track of supplies at some point. But having a mountain of stuff to sort is not the problem. The real trick lies in transforming that mess into an organized space so you can rediscover your passion and actually use what you have.
Table of Contents
- Step 1: Assess Your Current Craft Supply Inventory
- Step 2: Categorize Supplies By Type And Frequency Of Use
- Step 3: Select Appropriate Storage Solutions For Each Category
- Step 4: Arrange And Label Storage For Quick Access
- Step 5: Maintain Your Organized System With Regular Checks
Quick Summary
| Key Point | Explanation |
|---|---|
| 1. Conduct a Thorough Supply Inventory | Gather and assess all craft supplies to understand what materials you have and eliminate the unnecessary ones. |
| 2. Categorize by Type and Usage | Sort supplies into clear categories based on material type and how often you use them for efficient access. |
| 3. Use Suitable Storage Solutions | Choose appropriate storage like clear containers and organizers to protect supplies and streamline your workspace. |
| 4. Label and Arrange for Accessibility | Implement a labeling system to enhance organization and arrange supplies based on usage frequency for quick access. |
| 5. Perform Regular Maintenance Checks | Schedule quarterly reviews to update inventory and remove unused items, ensuring your crafting space remains organized and inspiring. |
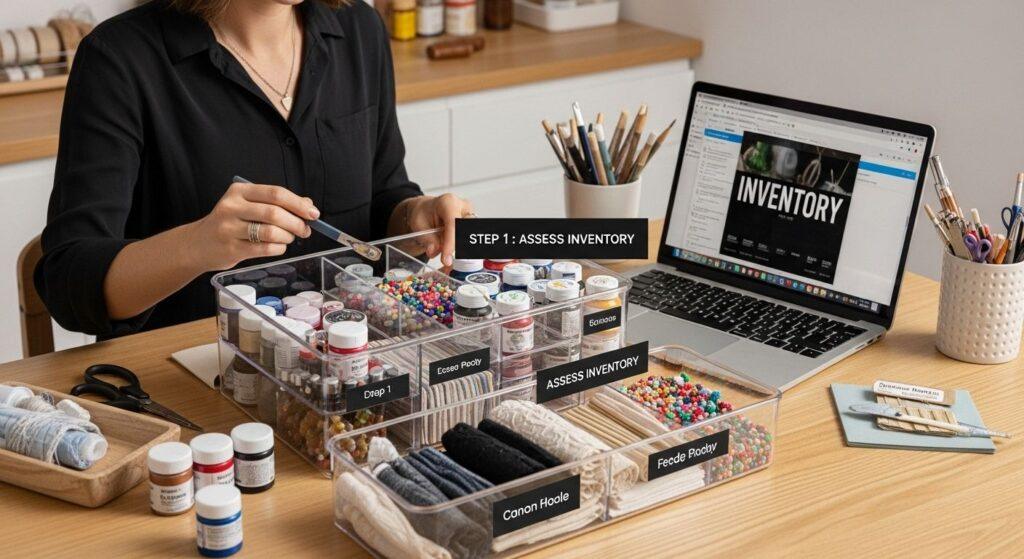
Step 1: Assess Your Current Craft Supply Inventory
Organizing craft supplies begins with a comprehensive inventory assessment, a crucial first step that sets the foundation for an efficient crafting workspace. Understanding exactly what materials you have will help you create a strategic organization system that saves time, reduces unnecessary purchases, and maximizes your creative potential.
Start by gathering all your craft supplies from every corner of your home. This means checking drawers, cupboards, storage boxes, and those forgotten containers tucked away in closets. Pull everything out and create a dedicated workspace where you can spread out and see everything clearly. Natural light helps in identifying small items and accurately assessing your collection.
As you collect your supplies, begin sorting them into broad categories. Group similar items together: paints with paints, fabric with fabric, beads with beads. This initial sorting will give you a clear visual overview of your craft inventory and help you understand the volume of supplies you own. Pay special attention to partially used materials, expired items, or supplies that might have degraded over time.
Next, create a detailed inventory list. Use a spreadsheet or a dedicated inventory tracking app to document each item. Include key details such as the type of supply, quantity, color, brand, and condition. This documentation serves multiple purposes: it helps you track what you have, identifies potential gaps in your collection, and prevents duplicate purchases. Check out our guide on art supply basics for additional tips on managing your crafting materials.
While inventorying, be honest about the supplies you actually use. Craft enthusiasts often accumulate materials with good intentions but rarely use them. Consider setting aside supplies you haven’t used in the past year for donation or gifting to fellow crafters. This not only declutters your space but also ensures your remaining supplies are intentional and meaningful.
Verify your inventory by checking for these key indicators of a successful assessment:
- All craft supplies are gathered in one location
- Items are sorted into clear, logical categories
- A comprehensive inventory list has been created
- Unused or expired materials have been identified for removal
- You have a clear understanding of your current craft supply collection
Below is a checklist table to help verify your craft supply inventory assessment is complete before moving forward.
| Verification Step | What to Look For | Outcome |
|---|---|---|
| All supplies in one place | Gathered from every area of the home | Nothing left scattered or stashed |
| Sorted into categories | Grouped by material type (eg. paints, fabrics) | Supplies visually organised |
| Inventory list created | Type, quantity, brand, and condition recorded | Up-to-date inventory available |
| Unused/expired identified | Partially used, unused, or degraded separated | Items ready for removal or donation |
| Understanding collection | Know exactly what and how much you own | Confident starting point for organising |
Completing this first step transforms a potentially overwhelming task into an exciting opportunity to rediscover your crafting materials and prepare for a more organized creative journey.
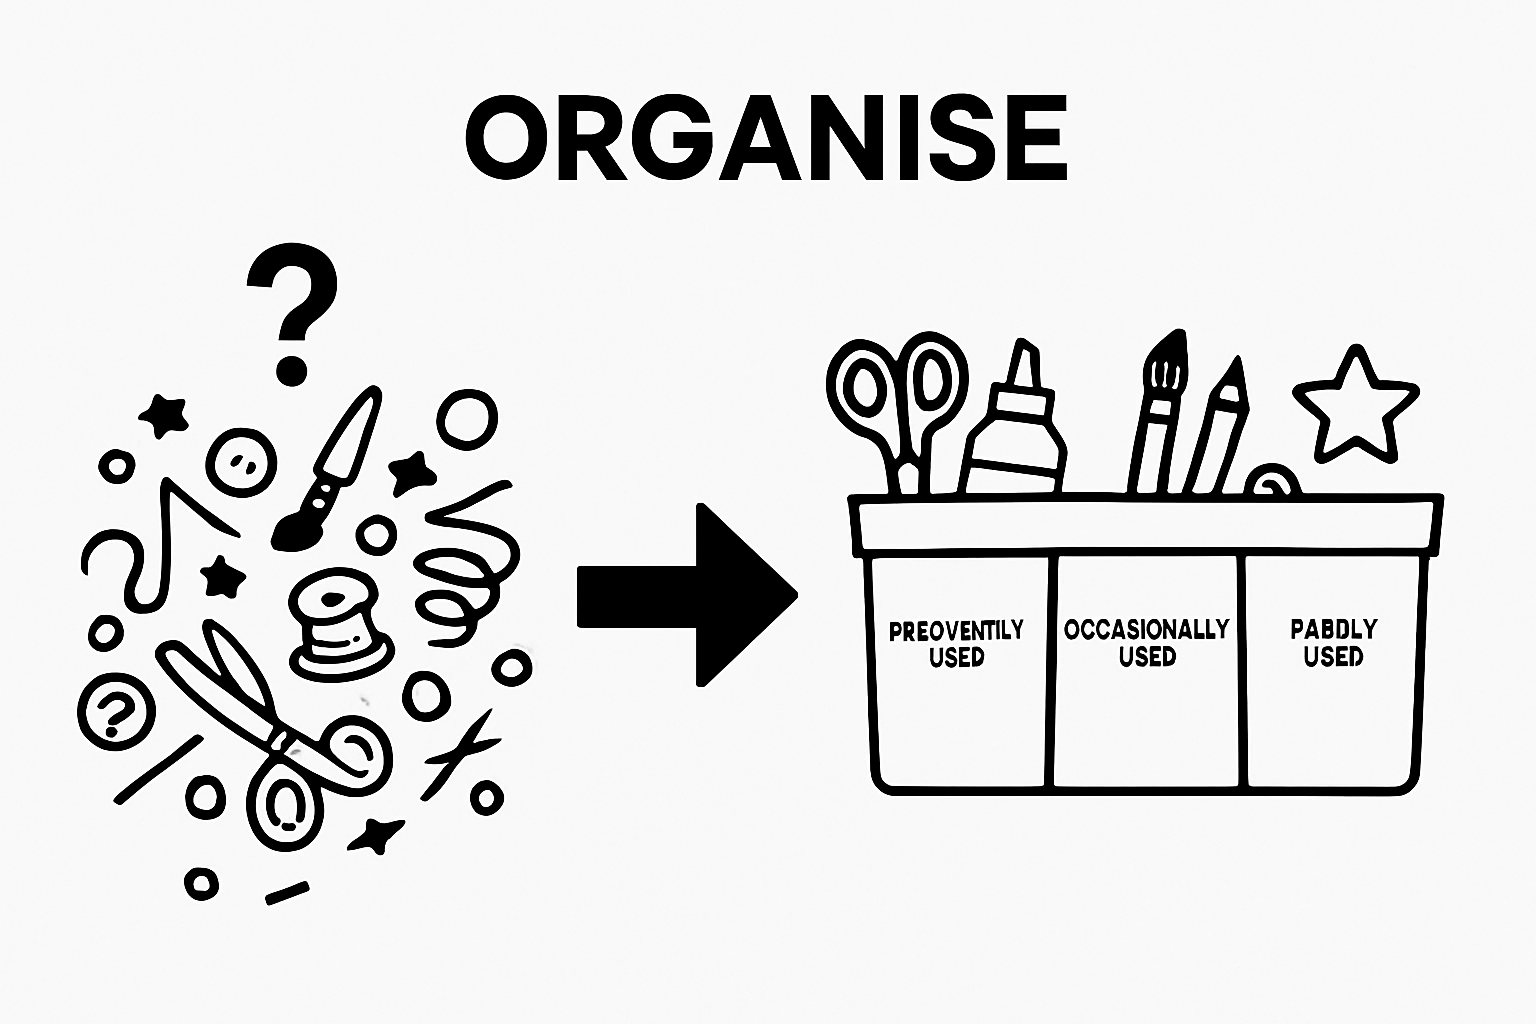
Step 2: Categorize Supplies by Type and Frequency of Use
After completing your initial inventory, the next critical step in organizing craft supplies is developing a strategic categorization system that reflects both material type and how frequently you use each item. This approach transforms a chaotic collection into a streamlined, accessible crafting resource that saves time and enhances creativity.
Begin by establishing primary categories based on craft material types. Craft material categories might include painting supplies, fabric crafts, beading, paper crafting, knitting and yarn, sculpting materials, and mixed media tools. Within each category, create subcategories that offer more granular organization. For painting supplies, this could mean separating acrylic paints, watercolors, brushes, canvases, and painting mediums.
Next, implement a usage frequency classification system. Divide your supplies into three primary groups: frequently used, occasionally used, and rarely used or specialty items. Frequently used supplies are your go-to materials that you reach for in most projects. These should be stored in the most accessible locations with clear, easy-to-read labels. Occasionally used supplies can be stored in secondary storage areas, while rare or specialty items might be kept in deeper storage or archival containers.
Our guide on art supply basics provides additional insights into effective supply management. When categorizing, consider not just current usage but potential future projects. Some specialty items might seem rarely used but could be valuable for upcoming creative endeavors.
To make your categorization system truly effective, invest in clear storage solutions that support your organizational strategy. Transparent plastic containers, labeled drawer systems, and modular storage units work exceptionally well for craft supplies. Color-coding can add an extra layer of visual organization, making it easier to quickly identify and retrieve specific materials.
As you categorize, take the opportunity to assess the condition of your supplies. Discard dried-out paints, damaged brushes, or materials that have degraded beyond usability. This process not only streamlines your collection but also ensures you’re working with quality tools that support your creative vision.
Verify your categorization system by checking these key indicators:
- All supplies are sorted into clear, logical categories
- Frequently used items are easily accessible
- Storage solutions match your categorization strategy
- Labels are clear and legible
- Unusable or expired materials have been removed
Remember, an effective categorization system is dynamic. Periodically review and adjust your organization as your crafting interests and supplies evolve, ensuring your workspace remains a productive and inspiring creative hub.
Step 3: Select Appropriate Storage Solutions for Each Category
Choosing the right storage solutions transforms your craft supply organization from a simple sorting exercise into a functional, inspiring workspace. The goal is to create a system that protects your materials, makes them easily accessible, and supports your creative workflow.
Transparent containers are the cornerstone of effective craft supply storage. These allow you to quickly identify contents without opening multiple boxes, saving time and reducing frustration. Select containers with tight-fitting lids to protect supplies from dust, moisture, and potential damage. Consider investing in stackable clear plastic containers with different sizes to accommodate various craft material types. Smaller containers work well for beads, buttons, and small embellishments, while larger ones can house fabrics, yarn, or painting supplies.
For frequently used items, open storage solutions like desktop organizers, hanging wall systems, and rotating craft caddies provide immediate access. These solutions keep essential tools within arm’s reach and can transform your crafting area into an efficient workspace. Magnetic strips work wonderfully for metal tools like scissors and rulers, while pegboards offer versatile hanging options for tools of various sizes.
Our guide on art supply basics recommends considering environmental factors when selecting storage. Protect sensitive materials like papers, fabrics, and paints from direct sunlight and humidity. Craft rooms with temperature and moisture fluctuations require additional protective measures such as silica gel packets in storage containers to prevent mold and material degradation.
Specialty craft supplies demand unique storage approaches. Delicate items like silk threads, watercolor papers, or specialized painting tools might require acid-free archival boxes or padded containers. Rolling storage carts with multiple drawers offer mobility and can be categorized by craft type, allowing you to wheel your entire project setup wherever inspiration strikes.
Consider vertical storage solutions to maximize space efficiency. Shelving units with adjustable heights accommodate craft supplies of various sizes. Over-the-door organizers, hanging fabric shoe racks, and wall-mounted grid systems can transform unused wall space into productive storage areas without consuming valuable floor space.
Verify your storage solution effectiveness by checking these key indicators:
- All supplies are protected from dust and potential damage
- Containers are clearly labeled
- Frequently used items are easily accessible
- Storage solutions match the size and fragility of your supplies
- Your workspace feels organized and inspirational
Remember, the perfect storage system evolves with your crafting journey. Stay flexible and willing to adjust your approach as your collection and creative interests grow.
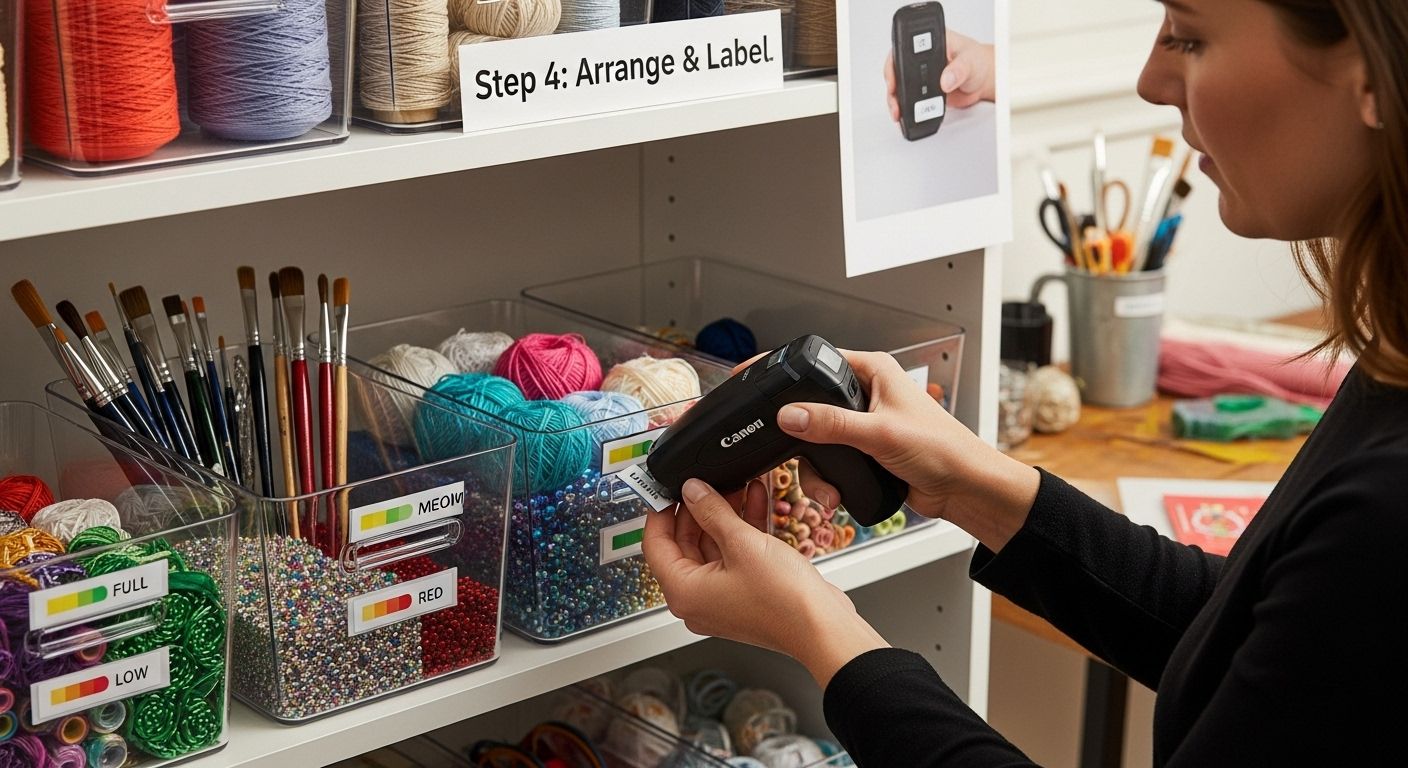
Step 4: Arrange and Label Storage for Quick Access
Labeling and arranging your craft supplies is the strategic finale of your organization journey, transforming your carefully sorted materials into a functional, intuitive crafting system. The goal is to create an arrangement that allows you to locate any supply instantly, minimizing disruption to your creative flow.
Color-coding offers an excellent first layer of organization. Assign specific colors to different craft categories or usage frequencies. For instance, bright red labels might indicate frequently used supplies, while blue could represent specialty or seasonal materials. Invest in a high-quality label maker that produces clear, durable labels. Alternatively, colored dot stickers or washi tape can provide a quick visual categorization system that works across various storage containers.
When arranging your supplies, implement a proximity principle. Place frequently used items at eye level and within immediate reach. Less frequently used materials can be stored on higher shelves or in deeper storage areas. Consider the physical ergonomics of your workspace, ensuring that heavy containers are stored lower to prevent strain and potential accidents.
Our guide on art supply basics recommends creating a logical flow in your storage arrangement. Group related supplies together, creating mini-zones within your larger storage system. For example, place all painting-related supplies together, with subcategories for brushes, paints, canvases, and painting mediums arranged in a way that makes sense for your personal crafting workflow.
Digital tracking can complement your physical organization system. Create a spreadsheet or use a dedicated inventory management app to log your supplies, their locations, and quantities. This digital backup ensures you always know what you have, even if a label becomes damaged or falls off. Some crafters take photos of their organized spaces as a reference point, helping maintain the system over time.
Consider the environmental conditions of your storage area. Avoid placing supplies near windows with direct sunlight, heating vents, or areas with significant temperature fluctuations. Delicate materials like papers, fabrics, and certain paints require stable, cool environments to prevent degradation.
Verify your arrangement and labeling system by checking these key indicators:
- All containers are clearly and consistently labeled
- Supplies are arranged by frequency of use
- Related items are grouped logically
- Digital or physical inventory tracking is in place
- The workspace feels intuitive and easy to navigate
Remember that an organization system is a living solution. Regularly review and adjust your arrangement as your craft supplies and creative interests evolve, ensuring your workspace remains a source of inspiration and efficiency.
Step 5: Maintain Your Organized System with Regular Checks
Maintaining an organized craft supply system is an ongoing process that requires consistent attention and periodic reviews. Think of your craft organization like a living ecosystem that needs regular nurturing to remain functional and inspiring. Without periodic maintenance, even the most meticulously arranged storage can quickly descend into chaos.
Quarterly system checks are crucial for keeping your craft supplies in optimal condition. Schedule these reviews at the start of each season, setting aside dedicated time to assess your current organization strategy. During these checks, pull out all containers and critically evaluate their contents. Look for supplies that have dried out, become damaged, or are no longer relevant to your current crafting interests. Proactive maintenance prevents accumulation of unnecessary materials and keeps your workspace fresh and functional.
Digital inventory tracking becomes your ally in maintaining organization. Update your spreadsheet or inventory management app during these quarterly reviews. Remove items you’ve used completely, add new purchases, and adjust your categorization as your crafting interests evolve. Our guide on art supply basics recommends creating a simple tracking system that allows you to monitor your supplies without becoming overwhelmed by complex documentation.
Consider implementing a one-in-one-out rule to prevent supply accumulation. Every time you purchase a new craft item, commit to removing a similar item from your collection. This practice prevents unnecessary clutter and encourages mindful purchasing. For craft enthusiasts who love collecting supplies, this rule can be challenging but incredibly effective in maintaining an organized workspace.
Environmental factors play a significant role in supply maintenance. Check your storage areas for signs of moisture, dust accumulation, or potential pest intrusion. Silica gel packets in storage containers can help control humidity, while periodic cleaning of storage spaces prevents dust buildup. Rotate your supplies occasionally, bringing less-used items to the front to prevent material degradation and ensure everything remains in usable condition.
Verify the effectiveness of your maintenance routine by checking these key indicators:
- All supplies are clean and in good condition
- Expired or damaged items have been removed
- Digital inventory is up to date
- Storage areas are clean and well-maintained
- Your workspace feels organized and inspiring
Remember that craft supply organization is a personal journey. What works perfectly for one crafter might need adjustment for another. Stay flexible, patient with yourself, and willing to adapt your system as your creative interests grow and change.
Ready to Transform Your Craft Space into an Organised Haven?
You have just read how taking inventory and creating a well-labelled system can breathe new life into your crafting. Still, you may feel overwhelmed by trying to keep up with all the tools, paints, and embellishments scattered around the house. If your dream is a workspace that inspires rather than frustrates, the right supplies and storage solutions are crucial. Imagine reaching for your favourite diamond dotting kit or stencil and knowing exactly where it is every time.
Get your creative life sorted today. Browse South Africa’s largest range of art supplies and practical storage options right now at Blue Pea Online. Stock up on paint by number kits and discover tools that make your organising journey easier. Take this step now and watch your creative productivity soar. Your perfect craft space is just a click away.
Frequently Asked Questions
How can I effectively categorize my craft supplies?
To categorize your craft supplies effectively, first group items by material type such as painting, fabric, or paper crafting. Then, arrange them according to usage frequency: frequently used, occasionally used, and rarely used items. This system makes it easier to locate materials quickly when needed.
What are the best storage solutions for craft supplies?
Transparent containers with tight-fitting lids are ideal for storing craft supplies, as they allow for easy identification of contents. For frequently used items, consider open storage solutions like desktop organizers or caddies. Shelving units and vibrant labeling can also enhance accessibility and organization.
How often should I perform maintenance on my organized craft supply system?
It’s recommended to conduct quarterly checks on your organized craft supply system. This schedule allows you to evaluate the condition of your supplies, remove expired or damaged items, and update any inventory lists, ensuring that you maintain an efficient crafting workspace.
What should I do with unused craft supplies?
If you have craft supplies that you haven’t used in the past year, consider setting them aside for donation or gifting to fellow crafters. This practice not only declutters your space but also helps other creatives gain access to materials they may find useful.
